
Razor Pages
ASP.NET Core의 Razor Pages는 이전 MVC(Model-View-Controller) 방식을 사용하는 것보다 좀 더 쉽고 생산적으로 개발할 수 있도록 나온 방식이다.
ASP.NET Core Razor Pages 가 뭘까?
MVC와 유사한 면도 있지만 Razor Pages는 Model-View-Controller에서 View와 Controller가 합쳐진 느낌이라고 생각하면 이해하기 편할 것 같다.
Razor Pages 프로젝트 생성
Visual Studio에서 ‘ASP.NET Core 웹 애플리케이션 > 웹 응용 프로그램’을 선택해 Razor Pages 프로젝트를 생성해 볼 수 있다.
이대로 컴파일을 하여 실행시켜보면 아래와 같이 뜰 것이다.
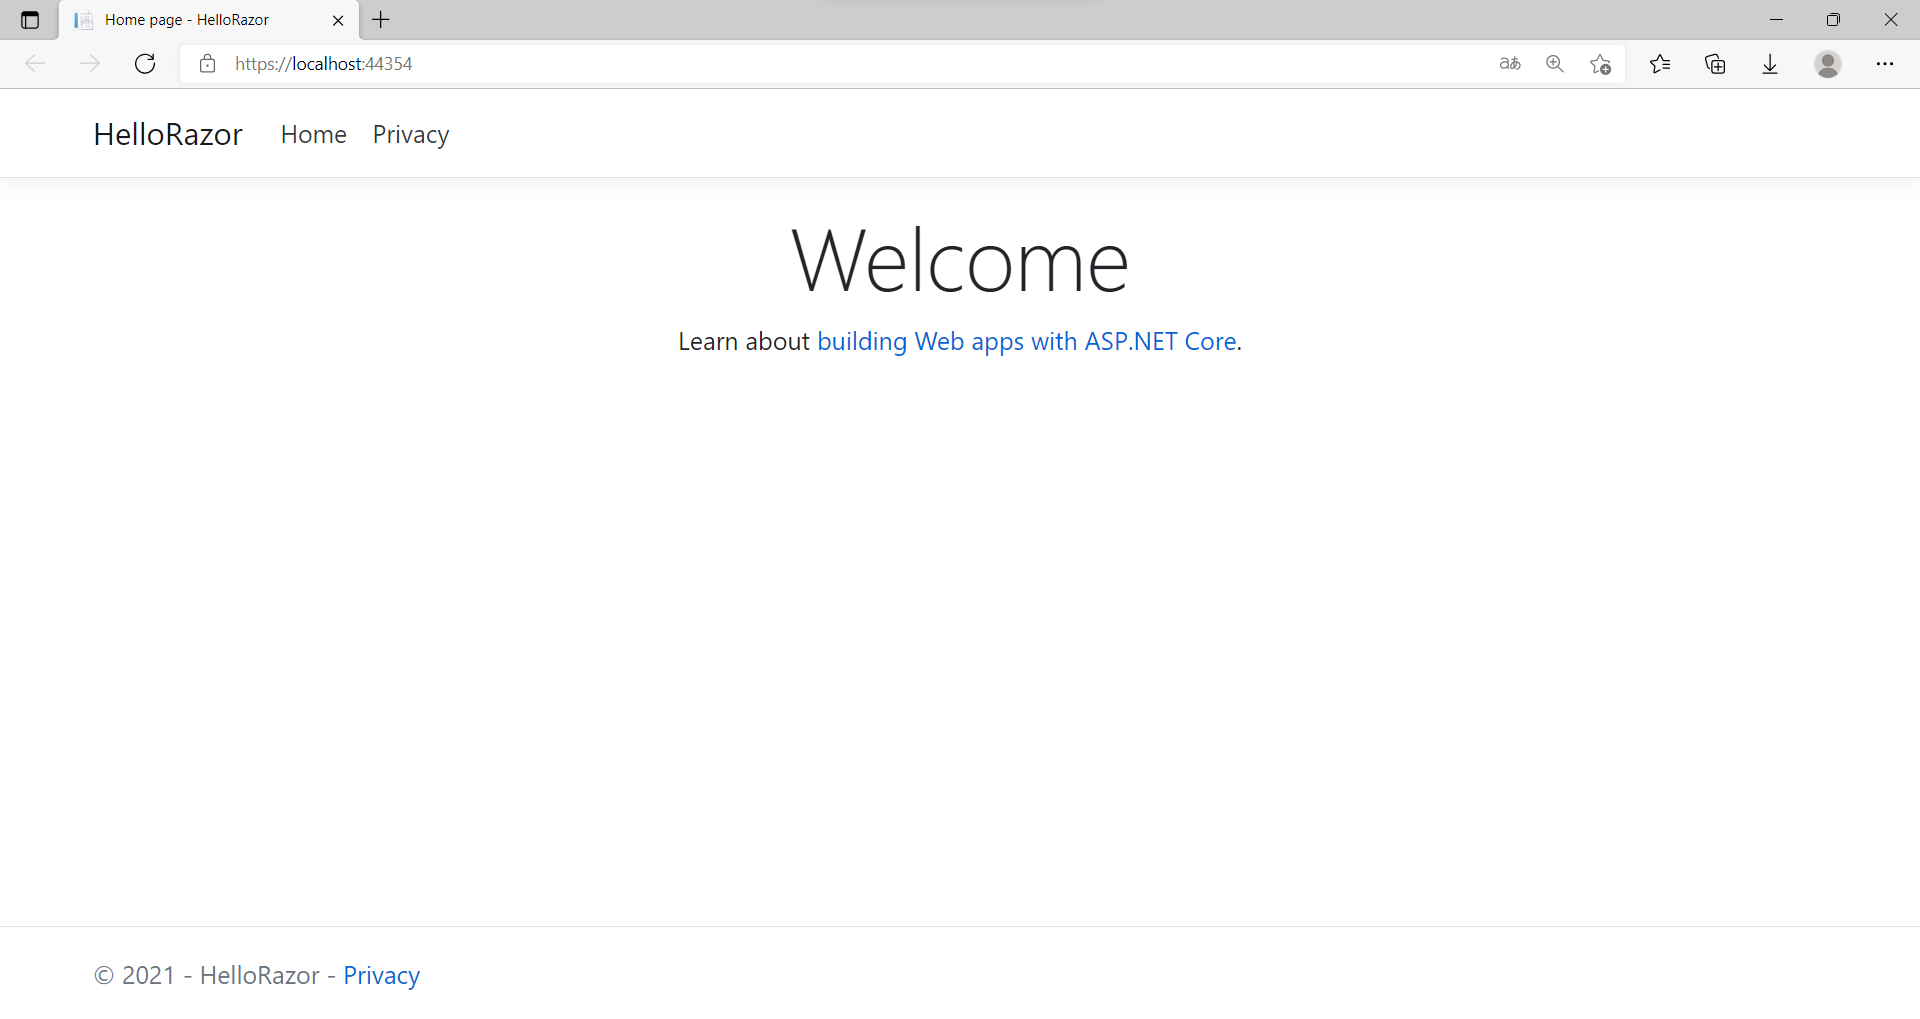 ASP.NET Core Razor Pages 실행 화면
빈 프로젝트에서 시작
Razor Pages 템플릿을 이용하여 프로젝트를 만들어도 되지만 Razor Pages 프로젝트 구조 및 동작원리를 이해하기 위해 빈 프로젝트에서부터 만들어보겠다.
빈 프로젝트 생성
‘새 프로젝트 생성 > ASP.NET Core 웹 애플리케이션 > 비어 있음’을 선택해 빈 프로젝트를 생성한다.
빈 프로젝트가 생성 되었다면 Models와 Pages 폴더를 생성한다.
Models에서는 데이터들을 정의 및 관리하고 Pages에서는 페이지들을 관리할 것이다.
- Models
- Pages
- Program.cs
- Startup.cs
Models
먼저 간단한 메세지를 표현할 데이터를 정의해주자.
Models 폴더에서 ‘새 항목 추가 > 클래스 > 파일이름 HelloMessage.cs’를 생성하고 아래와 같이 정의한다.
1
2
3
4
public class HelloMessage
{
    public string Message { get; set; }
}
Pages
그 다음 페이지를 하나 생성해보자.
Pages 폴더에서 ‘새 항목 추가 > Razor 페이지 > 파일이름 Index.cshtml’를 생성하고,
import를 해주어야 하는 것이 있어 ‘새 항목 추가 > Razor 뷰 가져오기’를 통해 _ViewImports.cshtml 파일도 생성하자.
_ViewImports.cshtml에 관한 설명
_ViewImports.cshtml는 아래와 같이 작성해놓으면 된다.
1
2
3
@using HelloEmpty
@using HelloEmpty.Models
@addTagHelper *, Microsoft.AspNetCore.Mvc.TagHelpers
페이지를 생성하고 보면 특이한 점을 볼 수 있다.
Index.cshtml파일을 생성함과 동시에 아래에 Index.cshtml.cs파일도 생성된 것을 볼 수 있다. 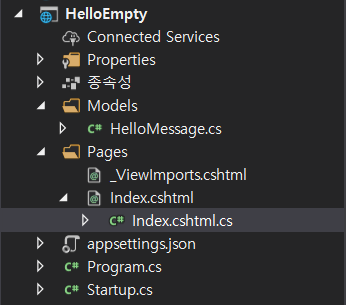 Index.cshtml과 Index.cshtml.cs
이것이 Razor Pages의 방식이라고 볼 수 있고 Index.cshtml이 MVC에서의 View, Index.cshtml.cs가 MVC에서의 Controller라고 생각하면 된다.
Razor Pages에서는 이런 식으로 View와 Controller를 묶어서 관리한다.
그럼 Index.cshtml과 Index.cshtml.cs도 작성해보자.
1
2
3
4
5
6
7
8
9
10
11
12
13
14
15
16
17
18
19
20
21
22
// Index.cshtml.cs
public class IndexModel : PageModel
{
    // 모델 바인딩 참가 암시
    [BindProperty]
    public HelloMessage HelloMsg { get; set; }

    public string Noti { get; set; }

    public void OnGet()
    {
        this.HelloMsg = new HelloMessage()
        {
            Message = "Hello Razor Pages"
        };
    }

    public void OnPost()
    {
        this.Noti = "Message Changed";
    }
}
1
2
3
4
5
6
7
8
9
10
11
12
13
14
15
16
17
18
19
20
21
@page

@model HelloEmpty.Pages.IndexModel

<html>
<head>
    <title>Hello Razor Pages !</title>
</head>
<body>
    <h1>@Model.HelloMsg.Message</h1>
    <hr />
    <h2>@Model.Noti</h2>
    <form method="post">
        <label asp-for="HelloMsg.Message">Enter Message</label>
        <br />
        <input type="text" asp-for="HelloMsg.Message" />
        <br />
        <button type="submit">Submit</button>
    </form>
</body>
</html>
Index 페이지를 호출한다면 먼저 Index.cshtml.cs 안의 OnGet()이 호출되고 Index.cshtml를 읽어 사용자에게 보여주게 된다.
또한 사용자에게 출력된 페이지에서 submit 버튼을 누르게 되면 post방식으로 호출하게되어 OnPost() 함수가 호출된다.
Startup
마지막으로 내가 만든 페이지를 Startup.cs에서 연결시켜주어야 한다.
1
2
3
4
5
6
7
8
9
10
11
12
13
14
15
16
17
18
19
20
21
22
23
24
25
public class Startup
{
    // This method gets called by the runtime. Use this method to add services to the container.
    // For more information on how to configure your application, visit https://go.microsoft.com/fwlink/?LinkID=398940
    public void ConfigureServices(IServiceCollection services)
    {
        services.AddRazorPages();
    }

    // This method gets called by the runtime. Use this method to configure the HTTP request pipeline.
    public void Configure(IApplicationBuilder app, IWebHostEnvironment env)
    {
        if (env.IsDevelopment())
        {
            app.UseDeveloperExceptionPage();
        }

        app.UseRouting();

        app.UseEndpoints(endpoints =>
        {
            endpoints.MapRazorPages();
        });
    }
}
Startup.cs에서 수정한 부분만 살펴보자면
1
2
3
4
public void ConfigureServices(IServiceCollection services)
{
    services.AddRazorPages();
}
services.AddRazorPages();는 Razor Pages를 사용하겠다는 의미이다.
1
2
3
4
app.UseEndpoints(endpoints =>
{
    endpoints.MapRazorPages();
});
endpoints.MapRazorPages();는 endpoints를 내 Razor Pages와 연동시키겠다는 의미이다.
이대로 실행시켜보면 아래와 같은 페이지의 모습이 뜰 것이다.
또한 중앙에 아무 문자열을 입력하고 submit을 눌려보면 페이지속 Message가 바뀌는 것을 볼 수 있다.
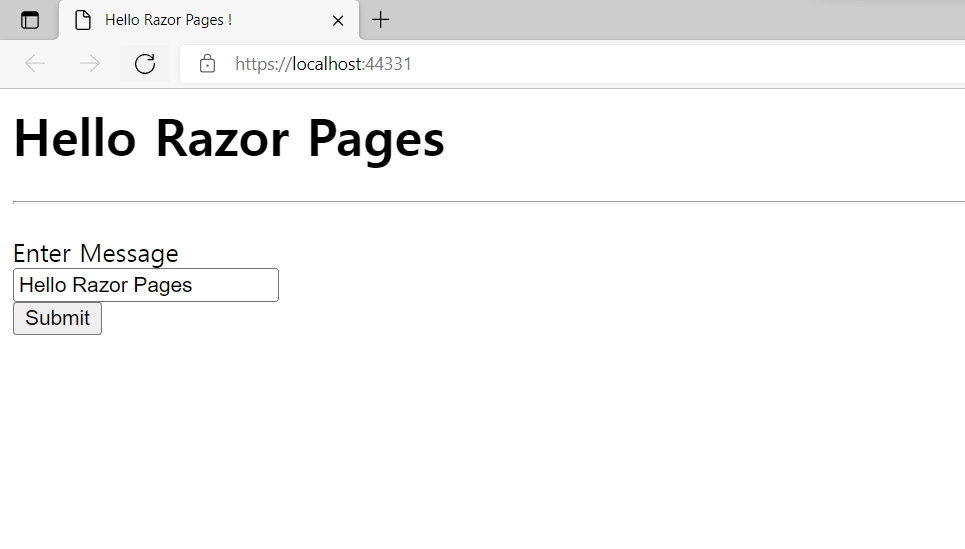 첫 실행화면
 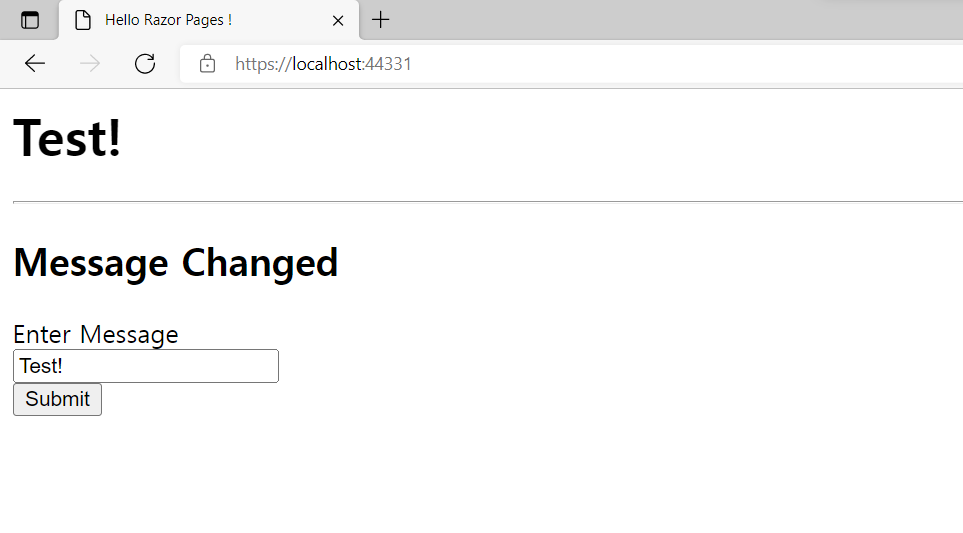 Test!라고 입력한 후 submit을 누른 화면
MVC와 Razor Pages 비교
MVC 방식으로도 코드를 작성해보고 Razor Pages 방식으로도 코드를 작성해보았다면 전체적으로 비교적 Razor Pages 방식이 단순하다라는 것을 느낄 수 있을 것이다.
MVC의 경우 Model-View_Controller가 완전 분리되어 있다보니 View에서 해당 Controller를 연동시켜줄 때 코드 상에서 지정해주어야하고 Controller와 View가 1대 다로 연결될 수도 있기에 코드가 길어지거나 관리하기가 복잡해 질 수 있다.
그러나 Razor Pages의 경우 각 View마다 해당 Controller가 1대 1로 매핑이 되어 있기 때문에 이 부분에 대해선 실수를 줄일 수 있고 관리하기가 편할 수 있다.
추가적으로 MVC에선 Startup.cs에서 endpoints를 설정해줄 때 pattern을 이용해 매핑을 해주었는데 Razor Pages에선 따로 pattern을 이용해 설정해주지 않은 것을 볼 수 있다.
Razor Pages의 경우 ‘{웹서버주소}/Index’라고 입력하면 알아서 Pages 폴더 안에 있는 Index 페이지와 매핑해준다. 또한 실행시켜보면 주소란에 따로 /Index가 표시되어 있지 않은데 기본값이 /Index라는 것을 알 수 있다.