
빈 프로젝트에서 시작
앞에서는 MVC 템플릿을 이용하여 프로젝트를 생성해보고 바로 실행해보았지만 이번에는 MVC 동작원리 등을 알아보기 위해 빈 프로젝트에서 하나하나씩 부품 맞추기 형식으로 MVC구조를 살펴보겠다.
빈 프로젝트 생성
‘새 프로젝트 생성 > ASP.NET Core 웹 애플리케이션 > 비어 있음’을 선택해 빈 프로젝트를 생성한다.
빈 프로젝트를 생성하였다면 먼저 Models, Views, Controllers 폴더를 생성하고 Views 폴더안에는 Home이라는 폴더를 생성해놓자.
- Controllers
- Models
- Views
- Home
- Program.cs
- Startup.cs
Models
다음 Models 폴더 안에 ‘새 항목 추가 > 클래스 > 파일이름 HelloMessage.cs’를 생성하여 간단한 메세지를 표현할 데이터를 정의해보자.
1
2
3
4
public class HelloMessage
{
    public string Message { get; set; }
}
Controllers
다음 Controllers 폴더로 가서는 ‘새 항목 추가 > 컨트롤러 클래스 - 비어 있 > 파일이름 HomeController.cs’를 생성하여 Home에 있는 Index 페이지를 열었을 때 어떤 데이터를 표현해주면 되는지 전달해보자.
1
2
3
4
5
6
7
8
9
10
11
12
13
14
public class HomeController : Controller
{
    public IActionResult Index()
    {
        HelloMessage msg = new HelloMessage()
        {
            Message = "Welcome to Asp.Net MVC !"
        };

        ViewBag.Noti = "Input message and click submit"; // ViewBag을 이용하여 View에 데이터를 넘겨줄 수 있음.

        return View(msg); // 어떤 UI를 표시해주면 되는지 반환
    }
}
주의할 점은 Controller 이름과 함수 이름을 작성할때 View에 있는 페이지 이름과 맞게 작성해야한다. (예: Home안에 Index 페이지 -> HomeController 클래스 안에 Index() 함수)
Views
다음으로는 Views 폴더로 가서 방금 작성한 Controller와 연동 될 View를 생성한다. ‘새 항목 추가 > Razor 뷰 - 비어 있음 > 파일이름 Index.cshtml’
.cshtml 파일은 C#과 HTML이 섞여있는 파일로 ASP.NET Core에서 자체적으로 활용하고 있는 파일형식이다.
Index.cshtml 파일을 생성하였다면 아래와 같이 작성해보자.
1
2
3
4
5
6
7
8
9
10
11
12
13
14
15
16
17
18
19
20
21
@model HelloEmpty.Models.HelloMessage

<html>
<head>
    <title>Hello MVC !</title>
</head>
<body>
    <h1>@Model.Message</h1>
    <hr />
    <h2>@ViewBag.Noti</h2>

    <form asp-controller="Home" asp-action="Index" method="post">
        <label asp-for="Message">Enter Message</label>
        <br />
        <input type="text" asp-for="Message" />
        <br />
        <button type="submit">Submit</button>
    </form>

</body>
</html>
코드를 보면 HTML 태그를 사용하고 있는 것을 볼 수 있지만 기존 HTML과 다르게 @가 많이 보이는 것을 알 수 있다.
@부분은 C#코드를 의미한다고 생각하면 된다.
코드를 하나하나 살펴보자면
1
@model HelloEmpty.Models.HelloMessage
첫 줄에 나오는 부분은 HelloEmpty.Models.HelloMessage를 사용하겠다는 의미이다.
1
2
3
<h1>@Model.Message</h1>
<hr />
<h2>@ViewBag.Noti</h2>
@없이 그냥 Model.Message라고 입력하면 그냥 문자열로 인식하지만 @를 붙이면 C#코드처럼 Model.Message에 접근하여 데이터를 불러오게 된다.
1
2
3
4
5
6
7
<form asp-controller="Home" asp-action="Index" method="post">
    <label asp-for="Message">Enter Message</label>
    <br />
    <input type="text" asp-for="Message" />
    <br />
    <button type="submit">Submit</button>
</form>
HTML 태그로 입력 폼을 작성한 것인데 submit 버튼을 누르면 HomeController에 있는 Index()를 post 방식으로 호출하게 된다.
추가적으로 _ViewImports.cshtml 파일을 추가해주어야하는데,
‘새 항목 추가 > Razor 뷰 가져오기’를 선택해서 생성하고 아래와 같이 작성해놓으면 된다.
1
2
3
@using HelloEmpty
@using HelloEmpty.Models
@addTagHelper *, Microsoft.AspNetCore.Mvc.TagHelpers
POST 호출 처리
View에서 post방식으로 Index()를 호출하는 부분이 있는데 이에 대해 Controller에서 처리를 해주어야 한다.
이에 대한 처리를 간단하게 HomeController.cs에 추가해보자.
1
2
3
4
5
6
7
8
9
10
11
12
13
14
15
16
17
18
19
20
21
22
public class HomeController : Controller
    {
        public IActionResult Index()
        {
            HelloMessage msg = new HelloMessage()
            {
                Message = "Welcome to Asp.Net MVC !"
            };

            ViewBag.Noti = "Input message and click submit";

            return View(msg);
        }

        // POST를 처리하는 Index
        [HttpPost]
        public IActionResult Index(HelloMessage obj)
        {
            ViewBag.Noti = "Message Changed";
            return View(obj);
        }
    }
POST를 처리하는 부분은 [HttpPost]를 붙여주어야한다.
Startup
마지막으로 방금 만들어준 View와 Controller를 내 웹서비스에 연결시켜주어야 한다.
Startup.cs에서 이에 대한 설정을 할 수 있다.
기존 코드에서 몇가지만 수정해보자.
1
2
3
4
5
6
7
8
9
10
11
12
13
14
15
16
17
18
19
20
21
22
23
24
25
26
27
public class Startup
{
    // This method gets called by the runtime. Use this method to add services to the container.
    // For more information on how to configure your application, visit https://go.microsoft.com/fwlink/?LinkID=398940
    public void ConfigureServices(IServiceCollection services)
    {
        services.AddControllersWithViews();
    }

    // This method gets called by the runtime. Use this method to configure the HTTP request pipeline.
    public void Configure(IApplicationBuilder app, IWebHostEnvironment env)
    {
        if (env.IsDevelopment())
        {
            app.UseDeveloperExceptionPage();
        }

        app.UseRouting();

        app.UseEndpoints(endpoints =>
        {
            endpoints.MapControllerRoute(
                name: "default",
                pattern: "{controller=Home}/{action=Index}/{id?}");
        });
    }
}
수정한 부분만 간단하게 살펴보자면
1
2
3
4
public void ConfigureServices(IServiceCollection services)
{
    services.AddControllersWithViews();
}
services.AddControllersWithViews(); 부분은 말그대로 MVC에서의 Controllers와 Views를 사용하겠다라는 의미이다.
1
2
3
4
5
6
app.UseEndpoints(endpoints =>
{
    endpoints.MapControllerRoute(
        name: "default",
        pattern: "{controller=Home}/{action=Index}/{id?}");
});
EndPoints를 연동시켜주는 부분인데 쉽게 말하자면 웹페이지에서 어떤 주소를 입력하였을 때 어떤 애로 연동시켜줄 것인지 매핑해주는 부분이라고 생각하면 된다.
코드에서 특히 pattern 부분이 중요한데 기본값이 /Home/Index이고 앞에부분을 Controller로 뒷부분을 action으로 인식하여 연동시켜주겠다는 의미이다.
이대로 실행시켜보면 아래와 같은 페이지의 모습이 뜰 것이다.
또한 중앙에 아무 문자열을 입력하고 submit을 눌려보면 페이지속 Message가 바뀌는 것을 볼 수 있다.
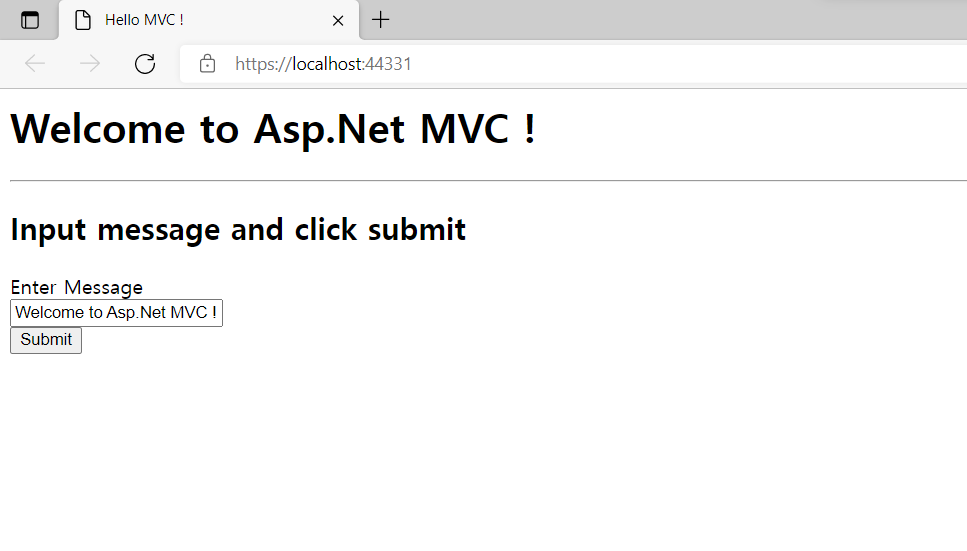 첫 실행화면
 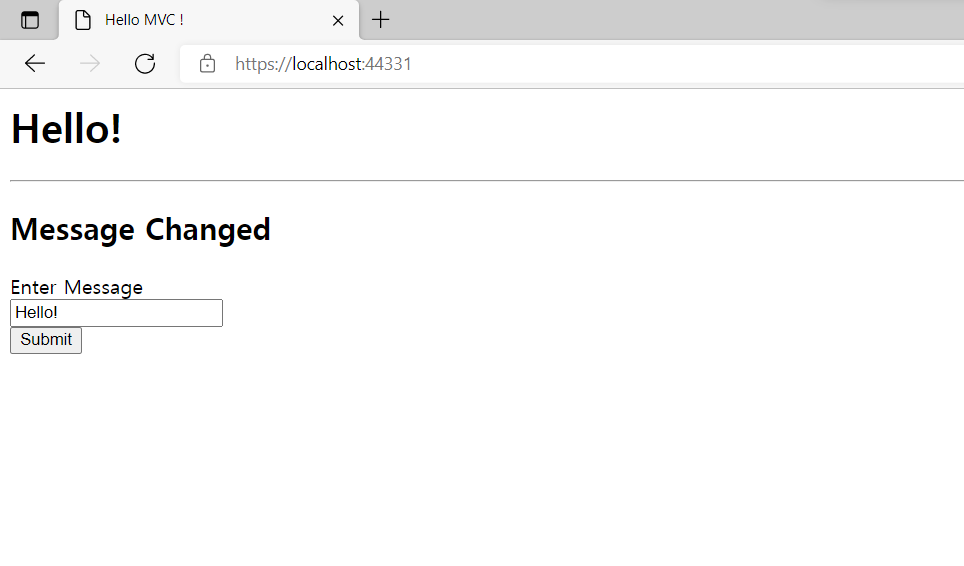 Hello!라고 입력한 후 submit을 누른 화면
동작 과정을 잠깐 정리해 보자면
ASP.NET Core 또한 콘솔 프로그램이라고 하였고 실행시키면 Main() 함수가 호출되면서 Startup 함수들을 호출해 준다.
Startup에선 Controllers와 Views를 연동해 주는 등 이런저런 설정들을 해주고
사용자가 ‘{웹서버주소}/Home/Index’(Home/Index의 경우 생략 가능) 식으로 주소를 입력하면 Home은 controller, Index는 action으로 인식하여 HomeController 안의 Index()를 호출해 준다.
그러고는 Views/Home/Index.cshtml 파일을 읽어 사용자에게 보여준다.